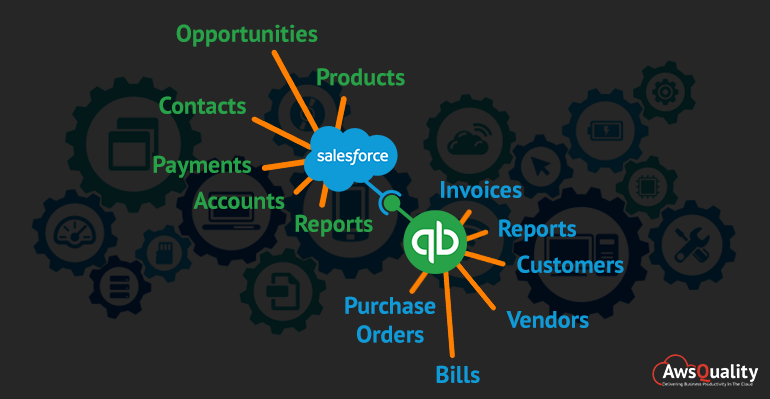
DBSync act as a two-way connector among Quickbooks online and salesforce integration, simple to utilize the application to integrate Salesforce Accounts/ Contact, Product, and opportunity with Quickbooks Online Customers. It is also useful to relocate historical data in Quickbooks online through salesforce and vice versa.
Also check: Salesforce and Quickbooks Desktop Integration Using DBSync
DBSync allows two-way sync with field-to-field map and also manages compound and dynamic mapping. It also acts as an online updater, which enables customers to keep on update different features that are available in the new release.
Here are the steps by steps guidance for Salesforce and Quickbook Integration by DBSync…
Basic Requirements are listed below:-
- Salesforce Account
- DBSync Account (https://www.mydbsync.com/).
- DBSync package installed from Appexchange https://appexchange.salesforce.com/appxListingDetail?listingId=a0N300000016bTHEAY
Here are the steps for Integration:-
-
- As the DBSync package is installed in Salesforce Org, create a new account. After that click on Edit layout and drag few Custom Fields( Integration, Quickbook Id, ) and a Custom Button(SF Account >> QBO Customer). Then click on Save. Now go to the Integration field and select Request Sync and Save the Account.

-
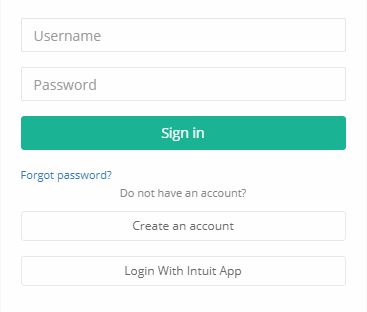
- Open “https://www.mydbsync.com” and click to My Account -> Customer Login, you will see the below screenshot. Then go to the customer login.

-
- And simply click on “Create An Account”.
-
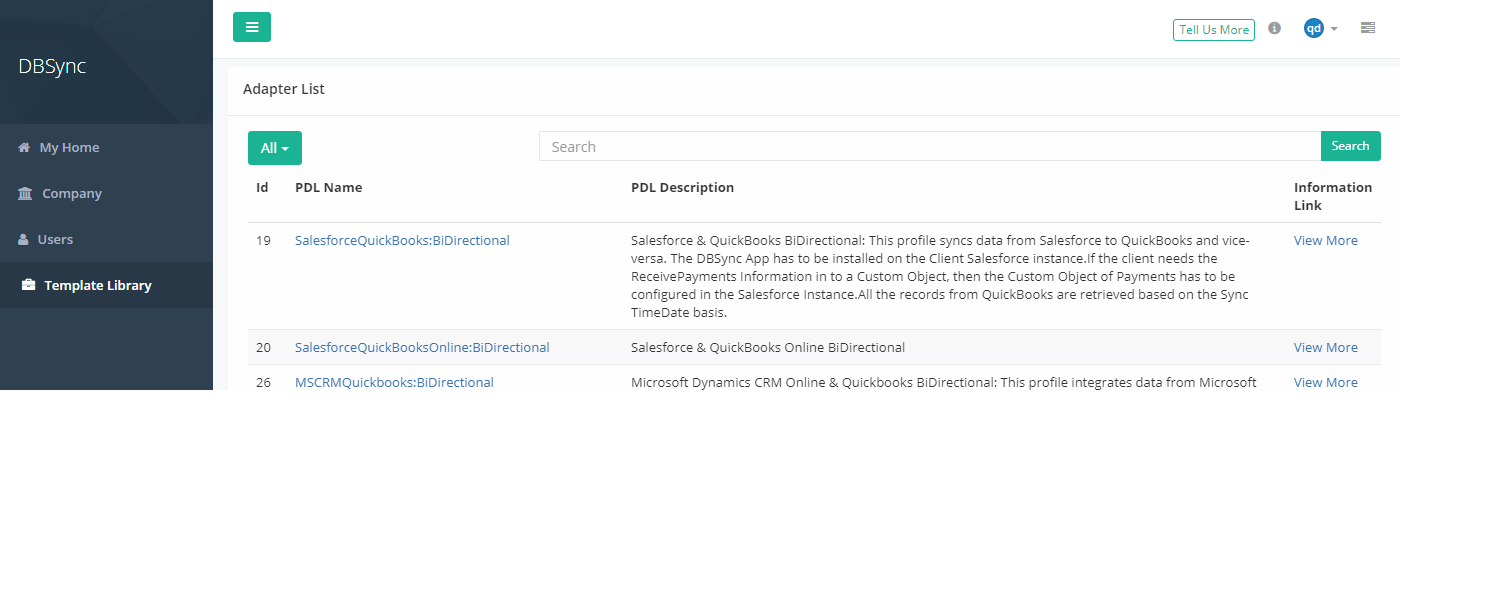
- Go to the “Template Library” Tab and then click the link: “SalesforceQuickBooksOnline: BiDirectional.”
-
- We will get this screen for Quickbook and Salesforce connection.

-
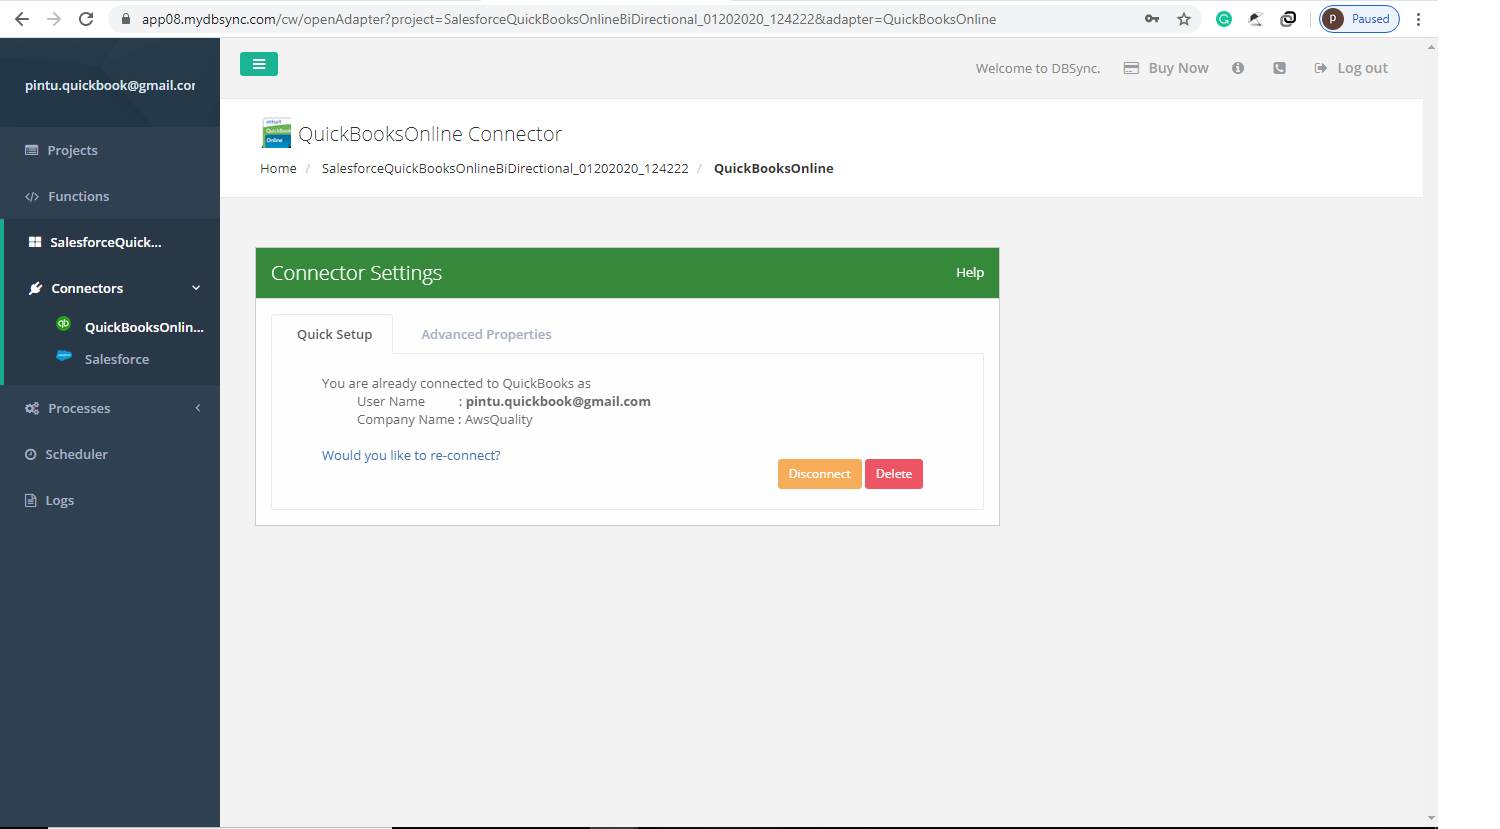
- From Connectors, click on QuickBooks. Fill details and click on Save Button and we will get this confirmation screen.
-
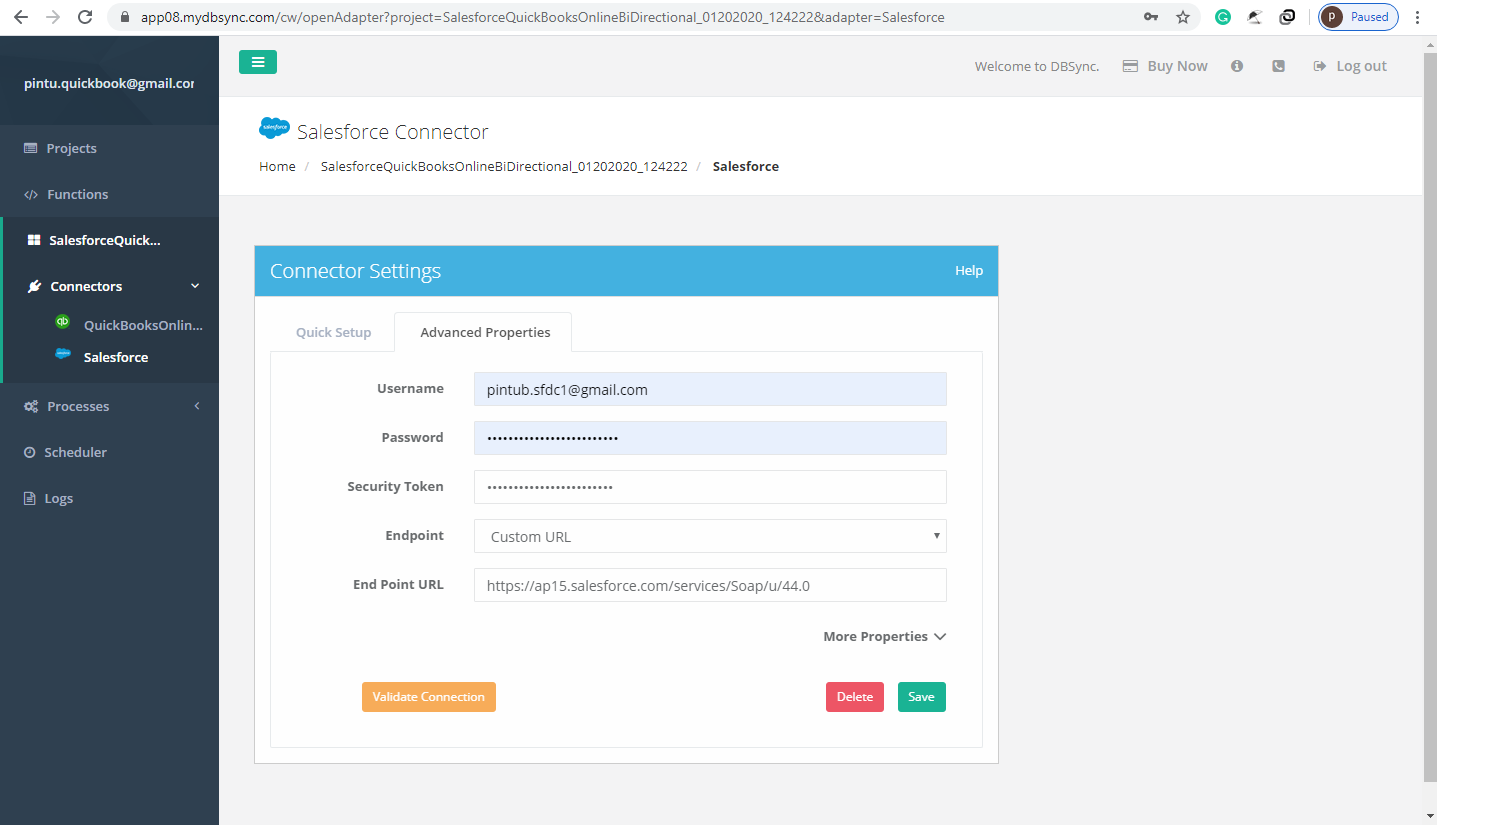
- Then click on Salesforce under Connectors, and go to Advanced properties.
-
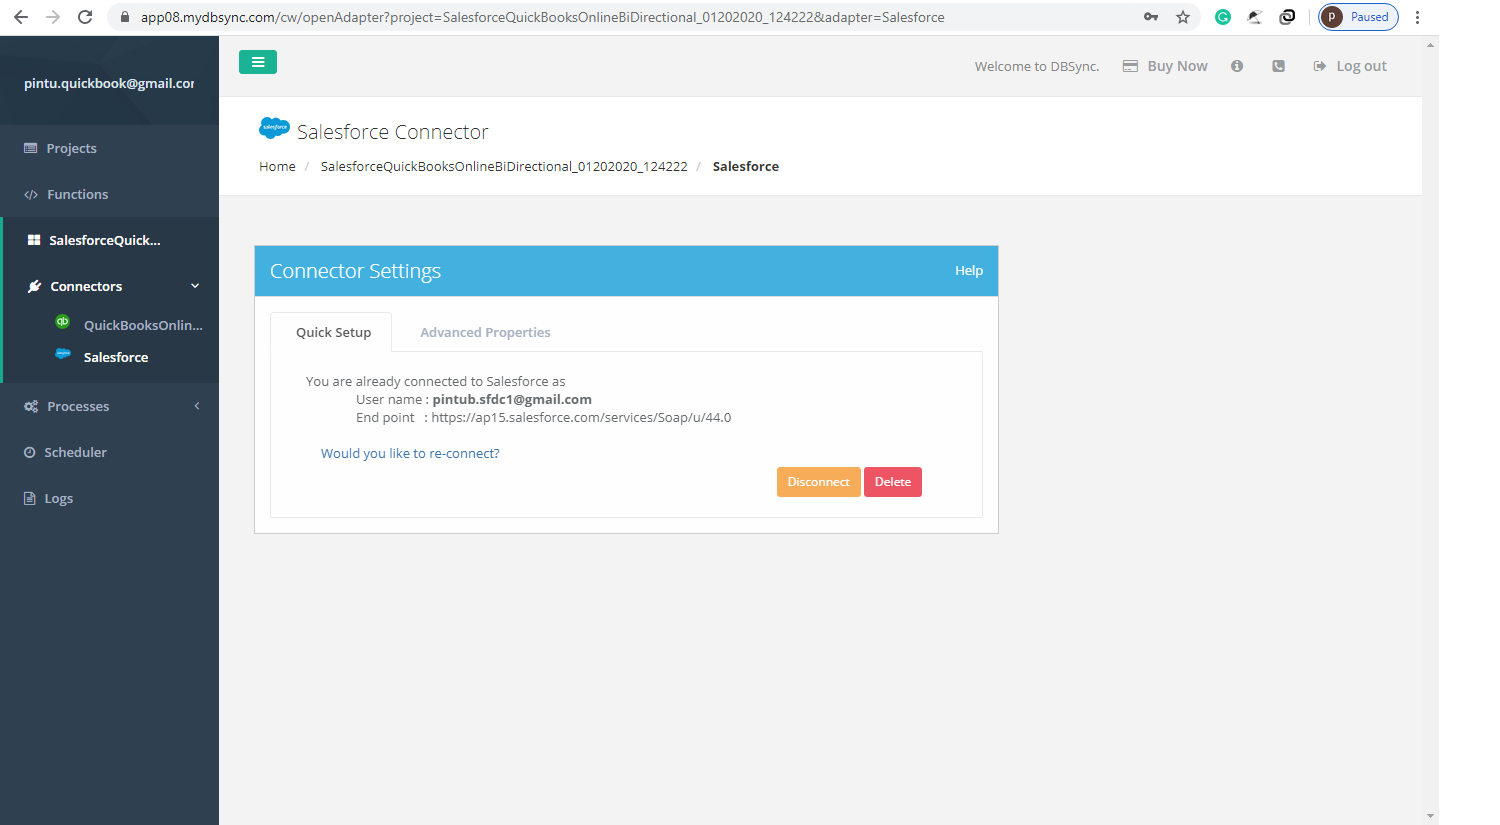
- Fill in details and click on Save Button and we will get this confirmation screen.
-
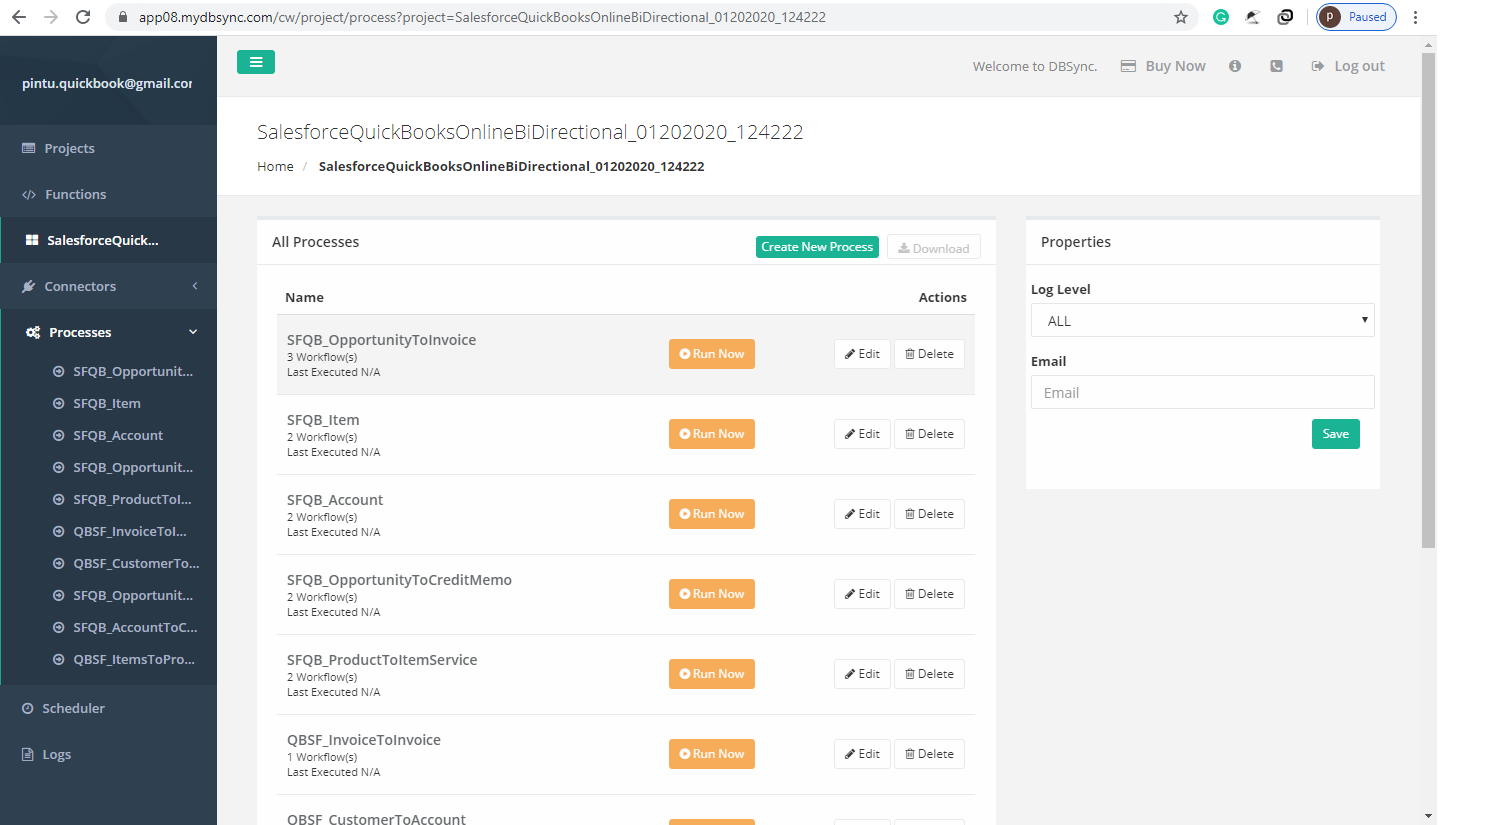
- Then, click on Processes under Connectors and click on SFQB_AccountToCustomer.
-
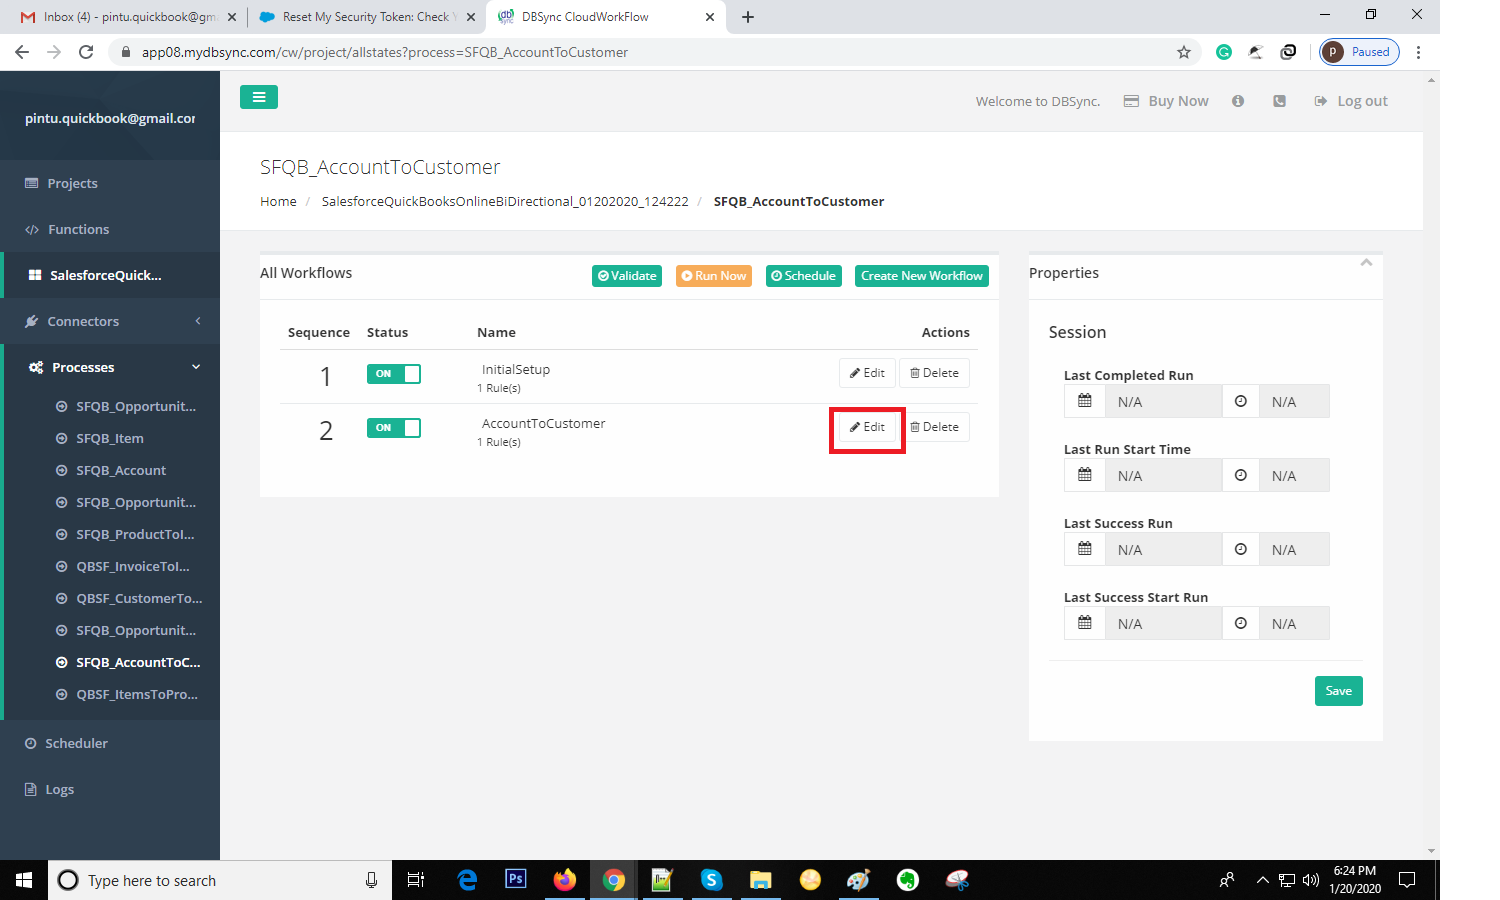
- Click on Edit from the AccountToCustomer rule.
-
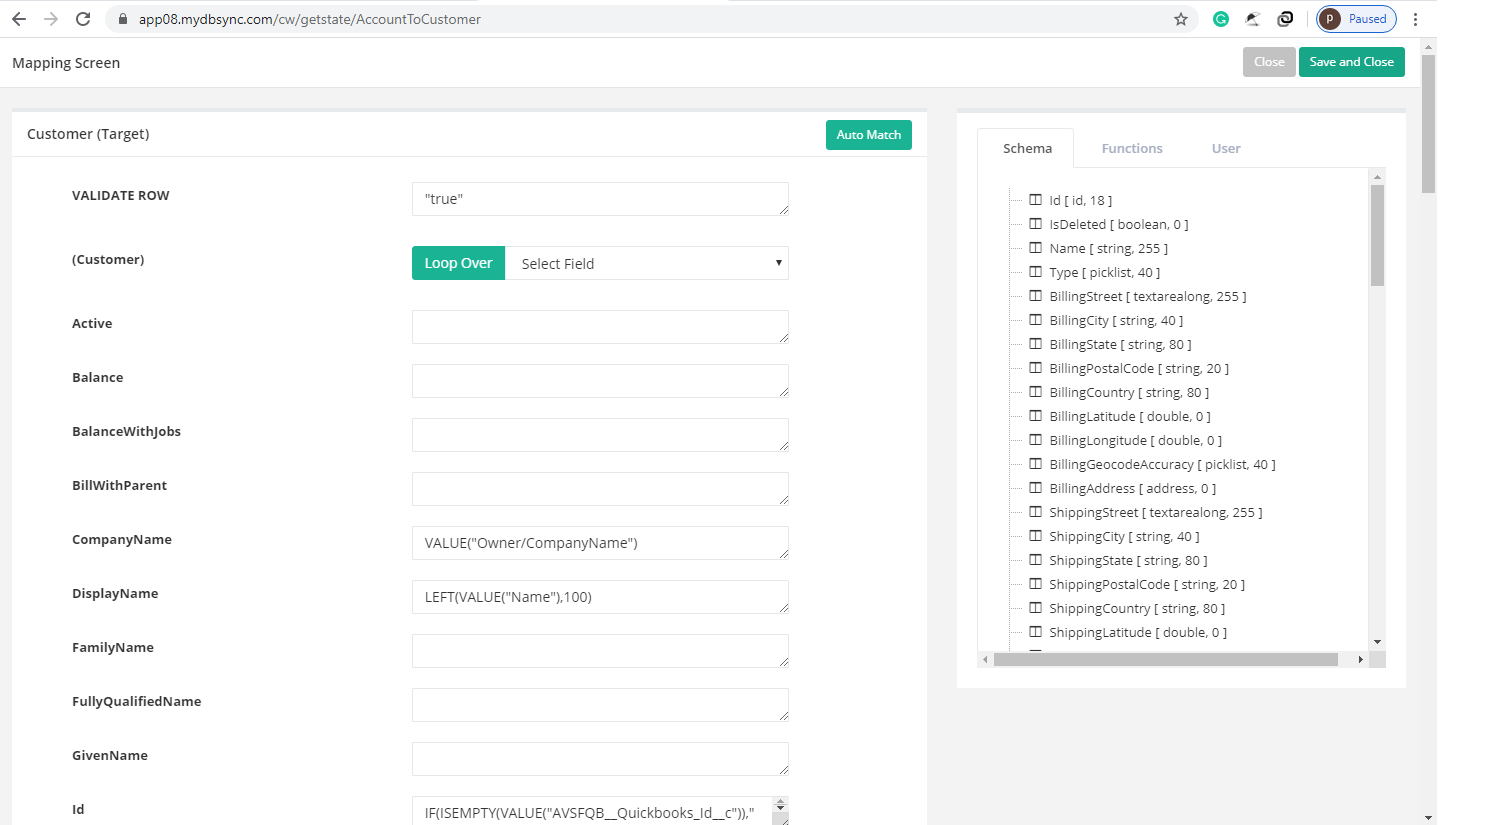
- Then, set fields accordingly, and click on Save and Close button.
-
- Then, click on Save Workflow.

-
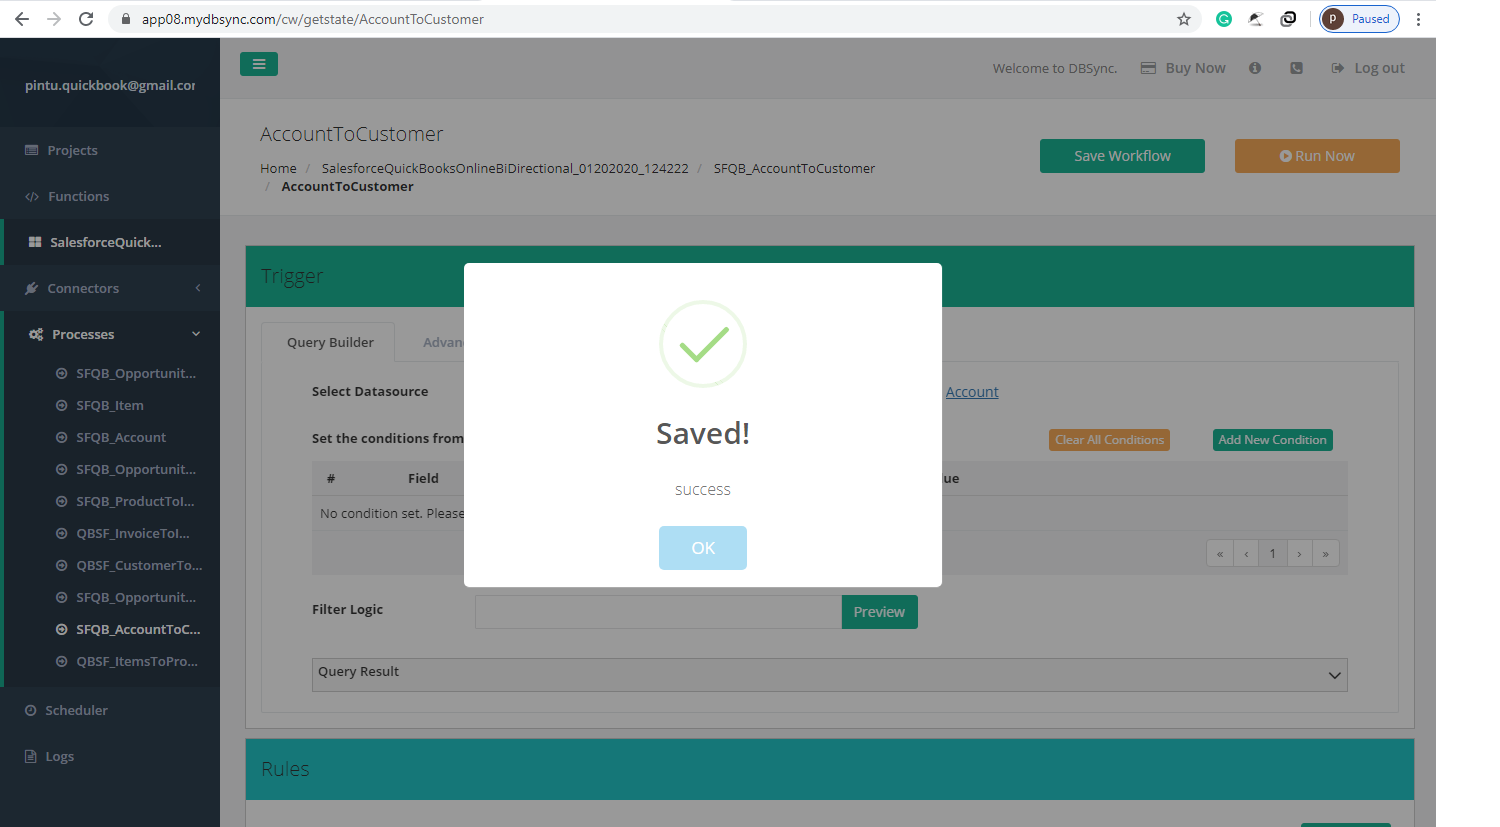
- It will pop up a Success message.
-
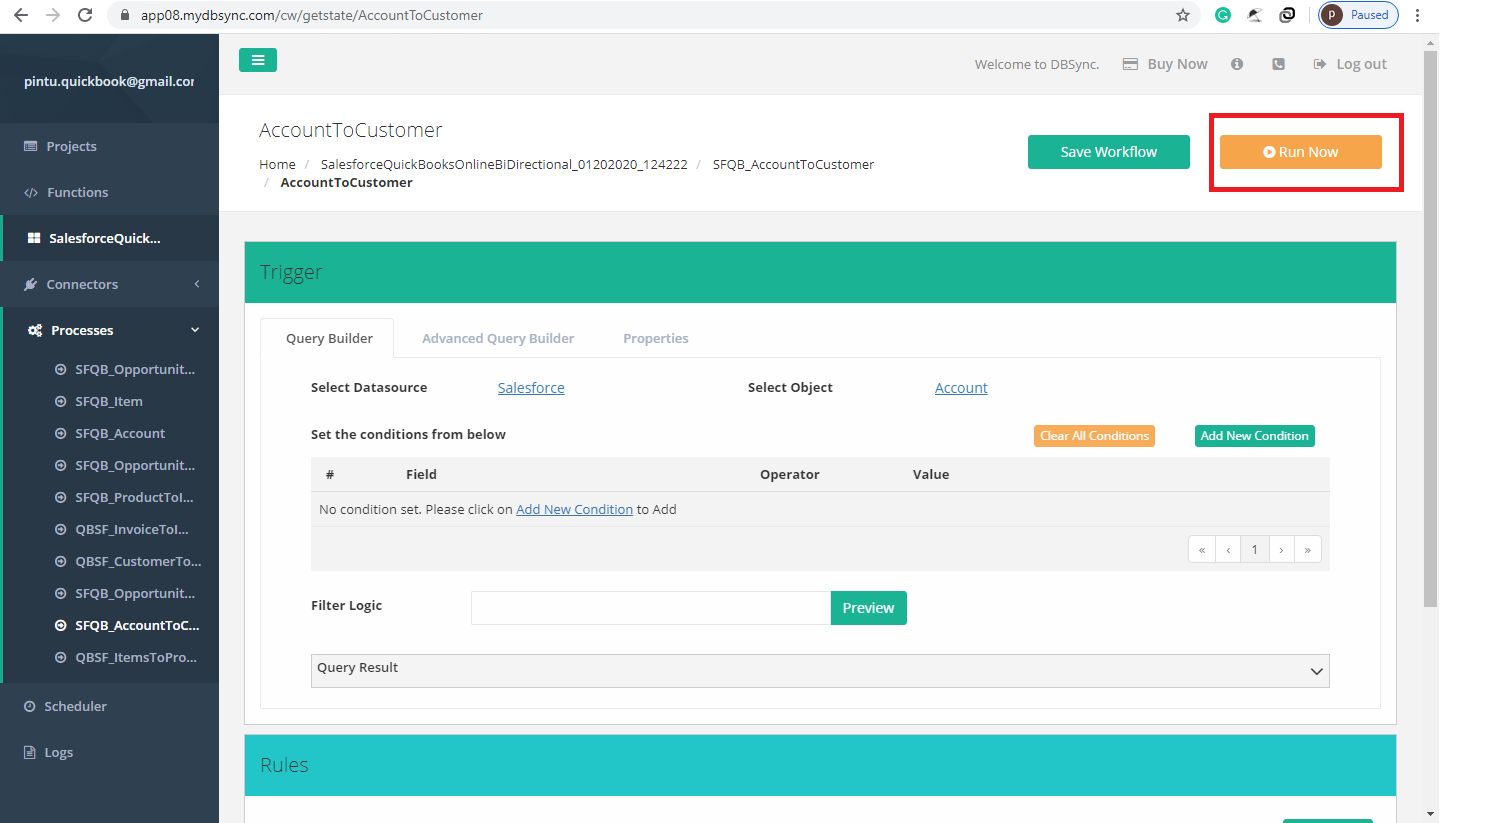
- Then, click on Run Now.
-
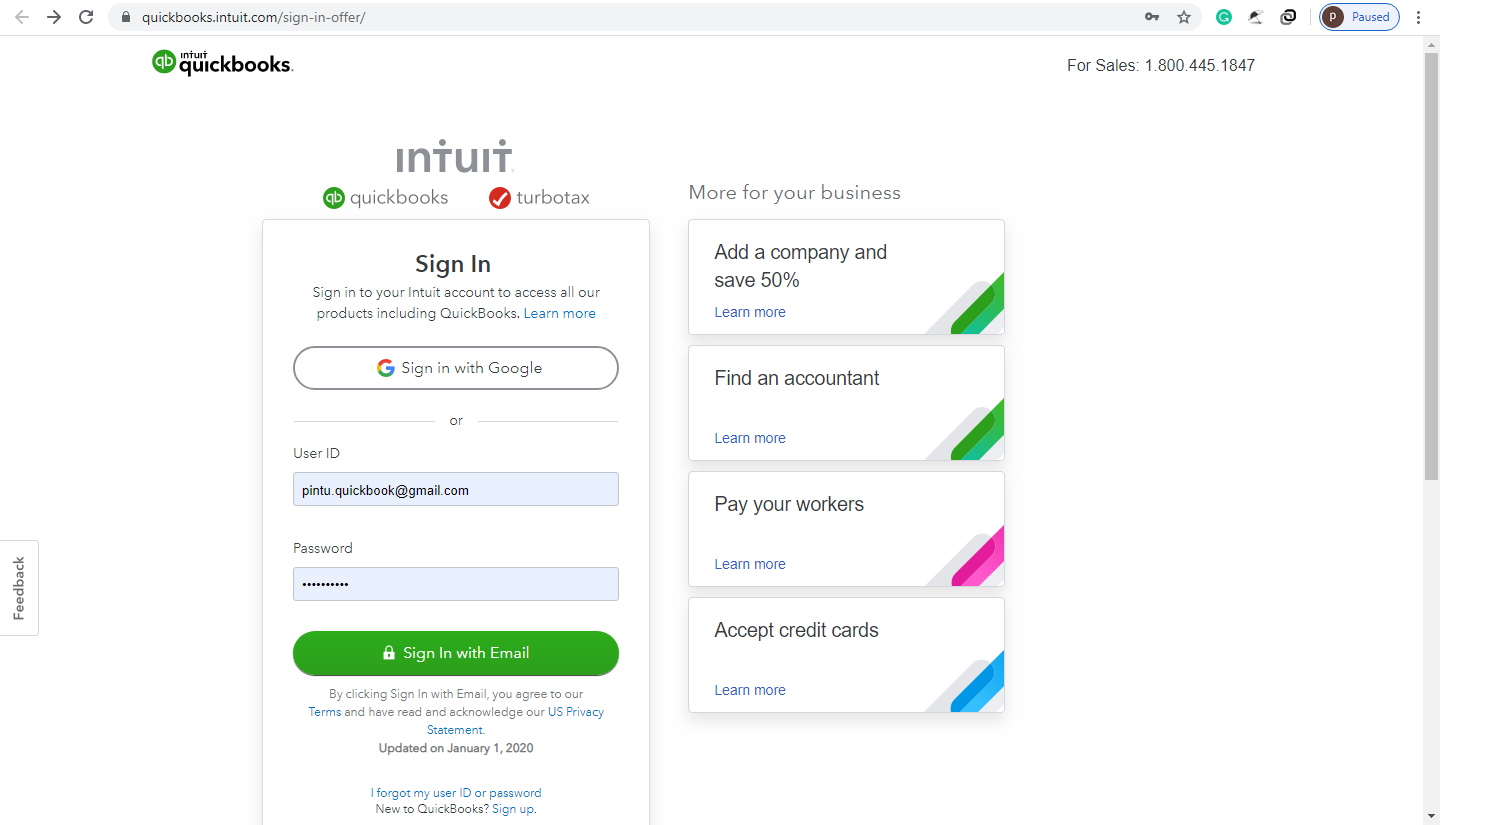
- Now go to this link https://quickbooks.intuit.com/login/ to create a QuickBooks account and SignIn with Email.
-
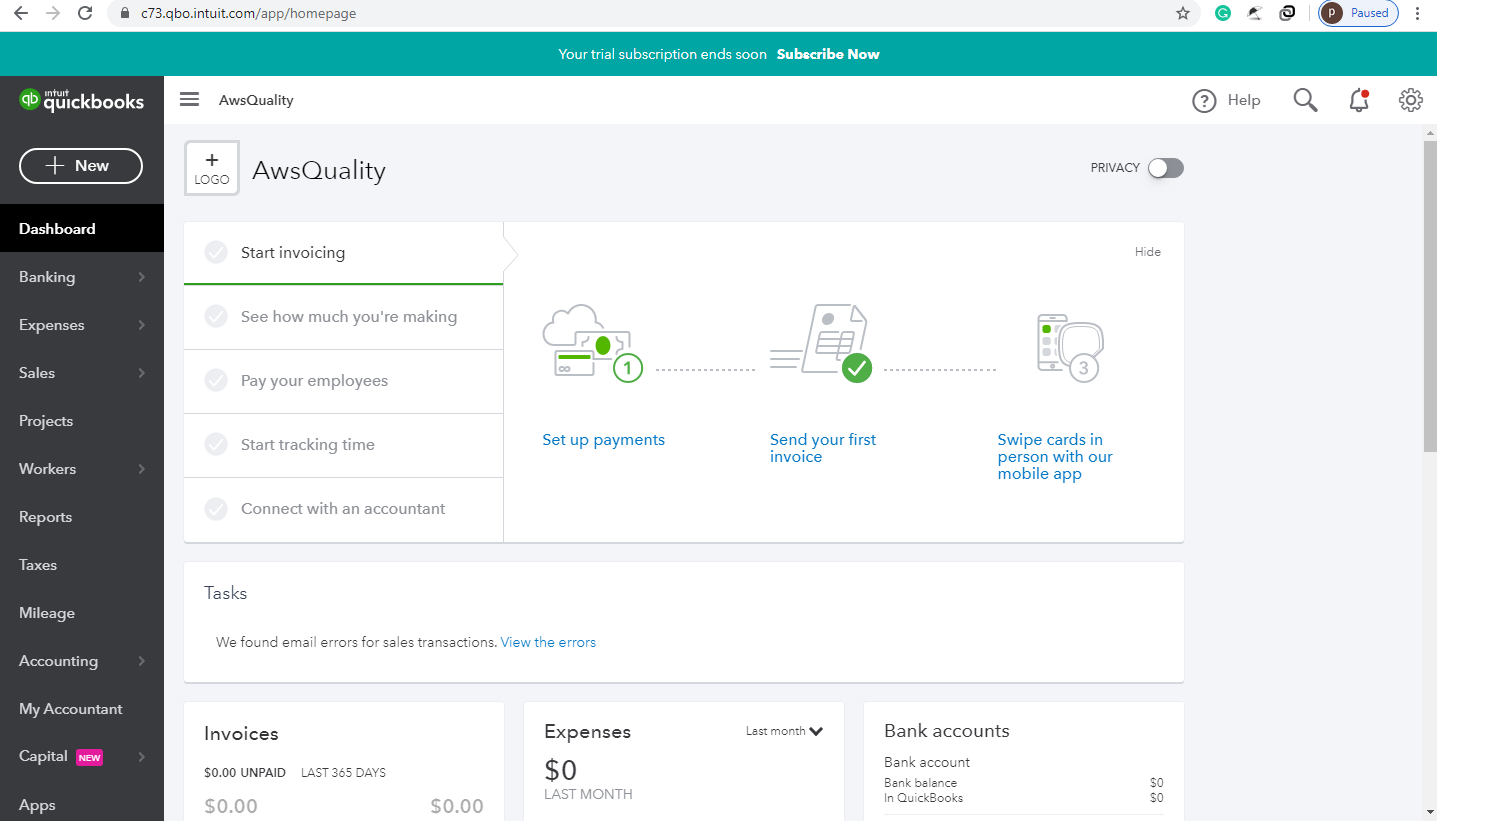
- It will take us to Quickbook Online.
-
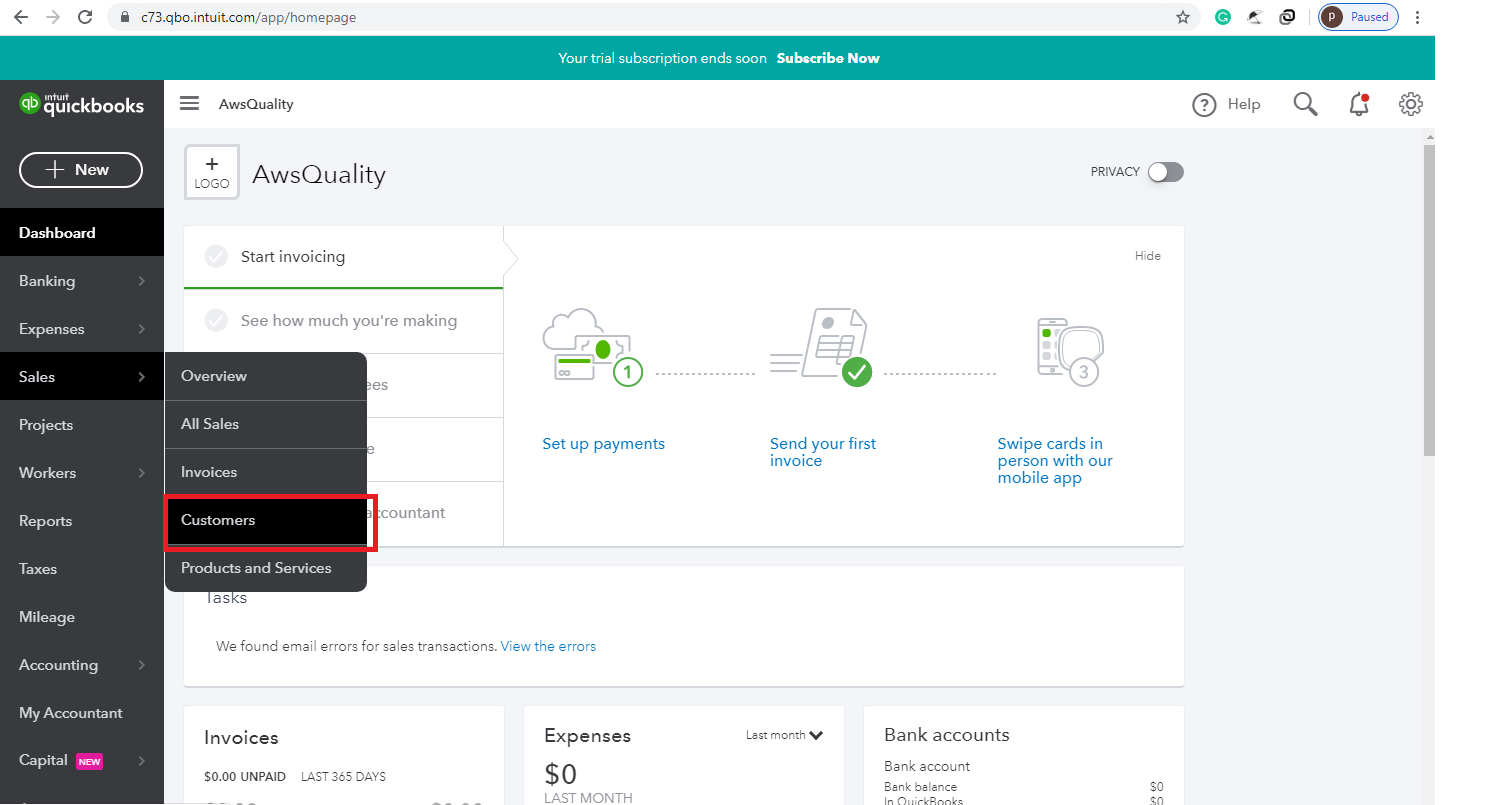
- From Sales click on Customers.
-
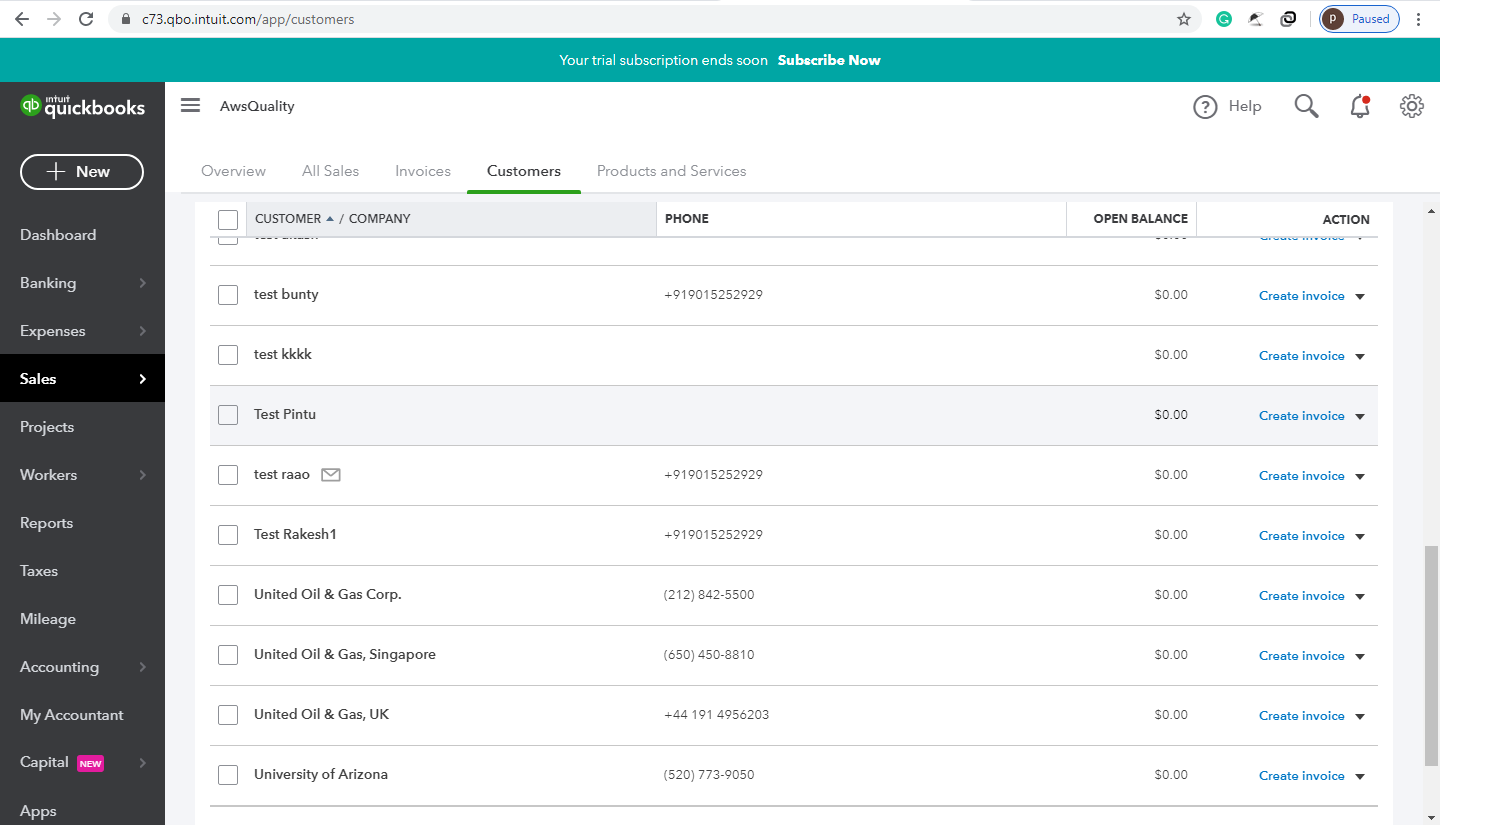
- It will get us list of Customers.
-
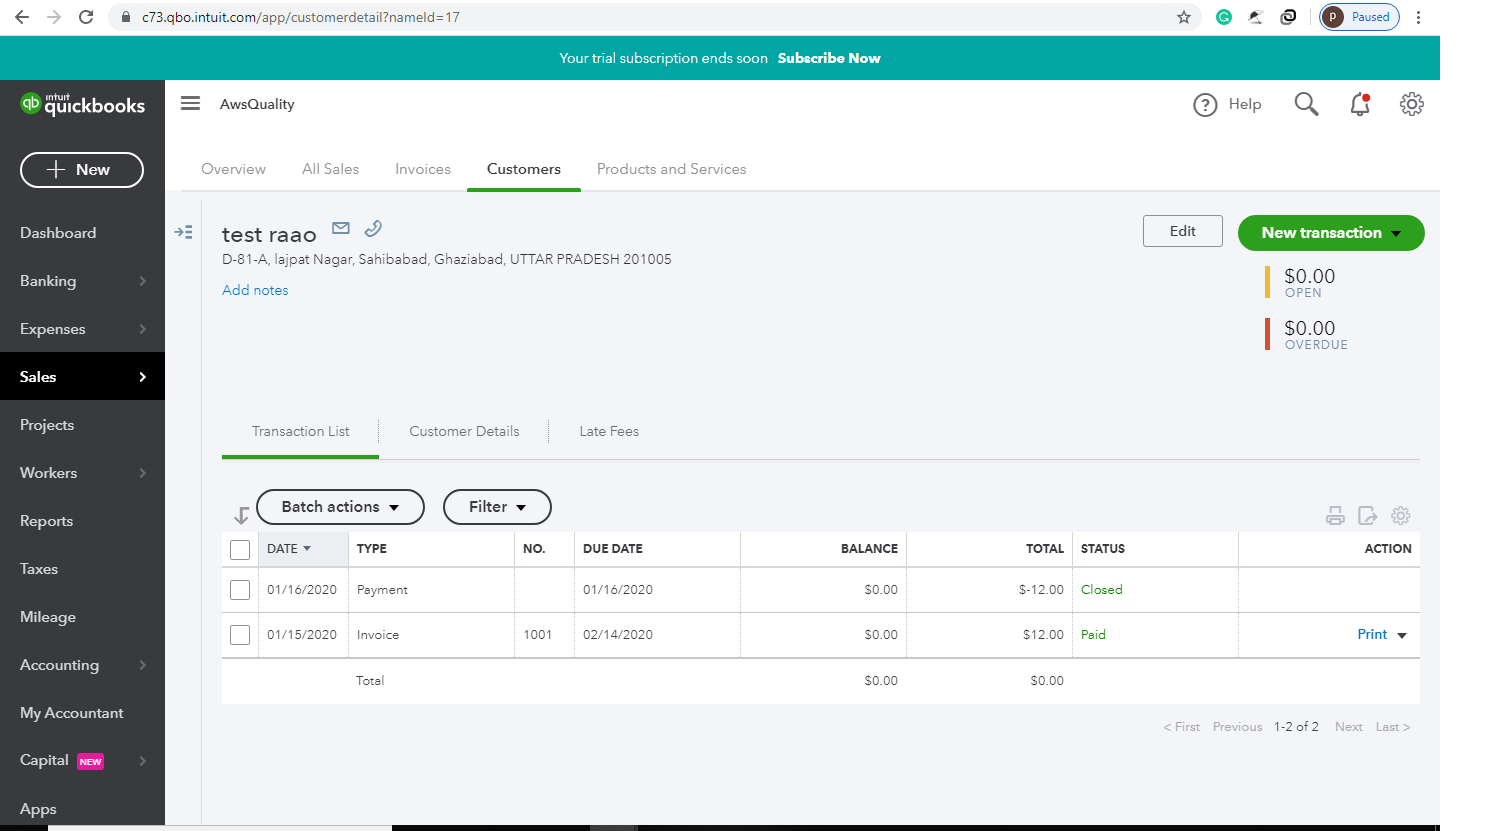
- When clicked on Customer name we will get a dedicated Customer screen.
We can configure this for other selections also like:-
- Salesforce Account/Contact to QuickBooks Customer/Contact
- Salesforce Opportunity Name to QuickBooks Job Name
- Salesforce Opportunity & Product Name to QuickBooks Invoice & Line Item
- Salesforce Opportunity & Product Name to QuickBooks Sales Receipts & Line Item
- Salesforce Product Name to QuickBooks Items
- QuickBooks Payment on Invoice to Salesforce DBSync Invoice.
Know more about Salesforce Integration


